


Dust accumulation in a PC can cause various issues, including overheating, reduced performance, and even hardware failure. Regularly cleaning your PC is essential to maintain its optimal functionality and prolong its lifespan. In this article, we will provide you with a comprehensive guide on how to clean dust from your PC, step-by-step, to ensure that you do it safely and effectively.
1. Understanding the Importance of Dust Cleaning
Before delving into the cleaning process, it’s crucial to understand why cleaning the dust from your PC is so vital. Dust acts as an insulating layer on the internal components, impeding proper airflow and causing the hardware to heat up excessively. Overheating can lead to decreased performance, system instability, and, in extreme cases, permanent damage to your valuable components.
2. Preparing for the Cleaning Process
a) Safety First:
Always prioritize safety when working with electronic devices. Turn off your PC and unplug it from the power source. This prevents accidental electric shocks and protects both you and your computer from potential harm.
b) Gather the Necessary Tools:
For a thorough cleaning, you’ll need a few tools: compressed air canister, soft brush or anti-static brush, microfiber cloths, rubbing alcohol, cotton swabs, and a screwdriver (if required to open the case).
3. External Cleaning
a) Wiping the Exterior:
Use a microfiber cloth slightly dampened with water to wipe down the external surfaces of the PC case. This helps remove visible dust, smudges, and fingerprints.
b) Cleaning the Peripherals:
Don’t forget to clean your keyboard, mouse, and monitor as well. Use compressed air to blow away dust and debris between the keys, and wipe the surfaces with a cloth dampened with rubbing alcohol.
4. Opening the PC Case
a) Check the Warranty:
If your PC is under warranty, opening the case might void it. Refer to the manufacturer’s guidelines before proceeding. If the warranty has expired, you can proceed with caution.
b) Unplug Everything:
Disconnect all cables and peripherals from the PC to avoid any accidental damage during the cleaning process.
c) Ground Yourself:
To prevent static discharge that could harm your PC components, touch a metal surface or wear an anti-static wristband before proceeding.
d) Removing the Side Panel:
Most PC cases have screws or latches holding the side panel in place. Use the appropriate screwdriver to remove the screws or release the latches to access the interior.
5. Cleaning the Internal Components
a) Identify Dust Buildup:
Once the case is open, identify areas with significant dust buildup, such as fans, heatsinks, and filters.
b) Using Compressed Air:
The most effective way to remove dust from hard-to-reach areas is by using compressed air. Hold the fans and heatsinks in place with a finger or a non-abrasive object to prevent them from spinning while blowing the dust away.
c) Brushing Technique:
For stubborn dust, utilize a soft brush or anti-static brush to dislodge the particles gently. Avoid using excessive force to prevent damage to delicate components.
d) Cleaning Filters:
If your PC has dust filters, remove them and clean them with compressed air or wash them with water (if they are washable). Allow them to dry thoroughly before reinstalling.
6. Cleaning the Motherboard and Components
a) Compressed Air for the Motherboard:
Use compressed air to clean the motherboard and other components carefully. Pay special attention to RAM slots, PCIe slots, and other connectors.
b) Cotton Swabs and Alcohol:
For tough-to-remove grime, use cotton swabs lightly dampened with rubbing alcohol. Be cautious not to leave any cotton residues behind.
How to Sync an LG Phone with Your PC?
7. Reassembling the PC
a) Wait for the Components to Dry:
If you used alcohol during cleaning, ensure that all components are thoroughly dry before reassembling the PC.
b) Putting Back Dust Filters:
Reinstall the cleaned or dried dust filters in their respective positions.
c) Closing the Case:
Align the side panel properly and secure it back in place with the screws or latches.
8. Maintaining a Dust-Free PC
a) Establish a Cleaning Schedule:
To keep your PC running smoothly, set up a regular cleaning schedule. The frequency of cleaning depends on various factors, such as your PC’s environment and usage. For most users, cleaning every three to six months should suffice, but dusty environments may require more frequent cleaning.
b) Keep the PC Elevated:
Placing your PC on a clean, elevated surface can minimize dust intake. Avoid placing it directly on the floor, where dust tends to accumulate more.

c) Use Air Filters:
If your PC case doesn’t have built-in dust filters, consider installing them. Dust filters prevent larger particles from entering the case and help reduce internal dust buildup.
d) Manage Cable Clutter:
Organize and manage your cables inside the case to improve airflow. Neatly routed cables not only enhance airflow but also make it easier to clean components without obstruction.
How to Turn On Voice Search on PC?
9. Additional Tips for a Safe Cleaning Process
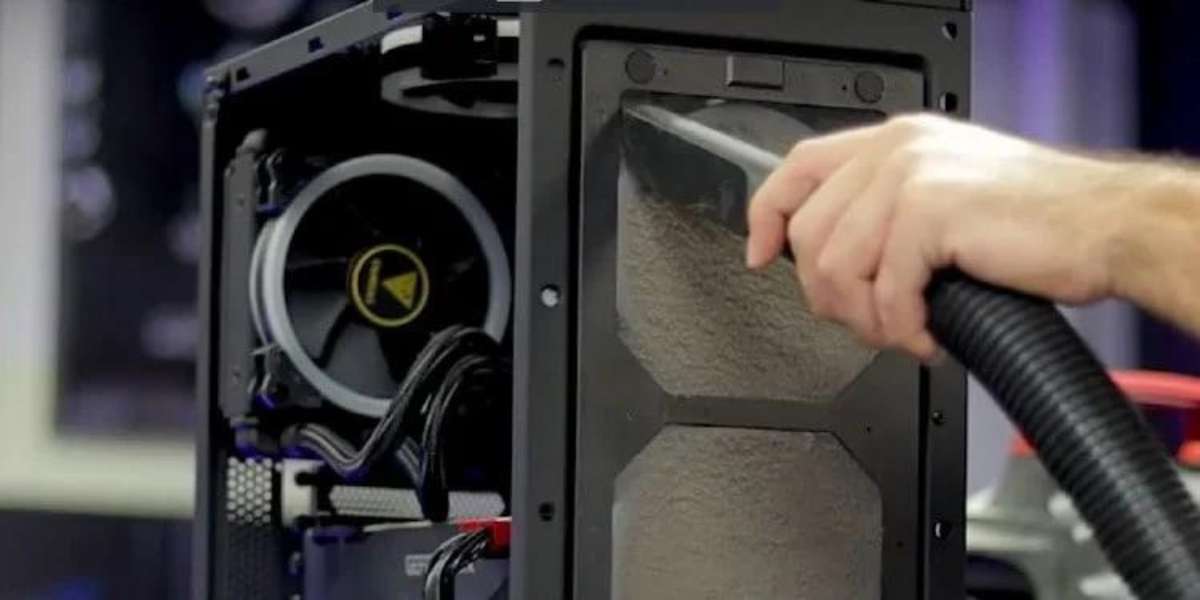
a) Avoid Vacuum Cleaners:
While vacuum cleaners may seem like a good idea to remove dust, they can generate static electricity and potentially damage sensitive components. Stick to using compressed air and brushes for a safer cleaning process.
b) Mind the Temperature:
If you’re using compressed air, be cautious not to tilt the canister too much or use it excessively in one area. This can cause the canister to cool rapidly, leading to condensation that might damage your components.
c) Check Fan Direction:
After cleaning, ensure that the fans are spinning in the correct direction. Fans mounted incorrectly can cause improper airflow and lead to overheating.
d) Inspect for Damaged Components:
While cleaning, take the opportunity to inspect your components for any visible damage or signs of wear. Replace any damaged or malfunctioning parts promptly to prevent further issues.
10. Cleaning Laptops and Portable Devices
a) External Cleaning:
For laptops, tablets, and other portable devices, start with an external cleaning using a microfiber cloth to wipe away dust and smudges.
b) Keyboard Cleaning:
Use compressed air to blow away dust and debris from the keyboard. Tilt the laptop to allow gravity to help remove the particles effectively.
c) Screen Cleaning:
Use a specialized screen cleaning solution and a microfiber cloth to gently clean the screen. Avoid using harsh chemicals or abrasive materials that could damage the display.
d) Internal Cleaning:
Cleaning the internal components of laptops can be more challenging and may require partial disassembly. If you’re not confident in doing it yourself, seek professional help to prevent accidental damage.
11. Final Thoughts
A clean PC is not only visually appealing but also critical for maintaining top-notch performance and preventing hardware issues. Dust accumulation can significantly impact your computer’s efficiency, leading to a shorter lifespan and potentially costly repairs. By following the step-by-step guide and adopting preventive measures outlined in this article, you can confidently clean your PC without fear of damaging its delicate components.
Remember, regular cleaning and maintenance will save you time, money, and headaches in the long run. Make it a habit to clean your PC at least every few months, and your computer will reward you with smoother operation, improved longevity, and overall better user experience.
As technology advances, newer PC designs may become more dust-resistant, but until then, a little proactive maintenance can go a long way in ensuring your PC remains a reliable workhorse for years to come. So, grab your tools, take a deep breath, and get ready to give your PC the tender loving care it deserves!
Conclusion
Regularly cleaning the dust from your PC is a crucial maintenance task that ensures optimal performance and extends the life of your system. With proper preparation, the right tools, and careful execution, you can safely and effectively remove dust from your PC. By following the step-by-step guide provided in this article, you’ll be able to maintain a clean and efficient computer, minimizing the risk of overheating and hardware issues. Remember, a clean PC is a happy PC!