


Screen recording on a Mac is a useful feature that allows you to capture video footage of your screen. Whether you’re creating tutorials, recording gameplay, or capturing a video call, screen recording on a Mac is an easy and convenient way to do it. In this article, we’ll go through the steps to screen record on a Mac, as well as some helpful tips and tricks.
Step-by-Step Guide to Screen Record on Mac
- Open the “QuickTime Player” To start screen recording on your Mac, you need to open the “QuickTime Player” application. You can find this application by searching for it in the “Spotlight” search bar or by navigating to “Applications” in Finder.
- Select “New Screen Recording” Once you have opened “QuickTime Player,” click on “File” in the top menu bar, then select “New Screen Recording” from the drop-down menu.
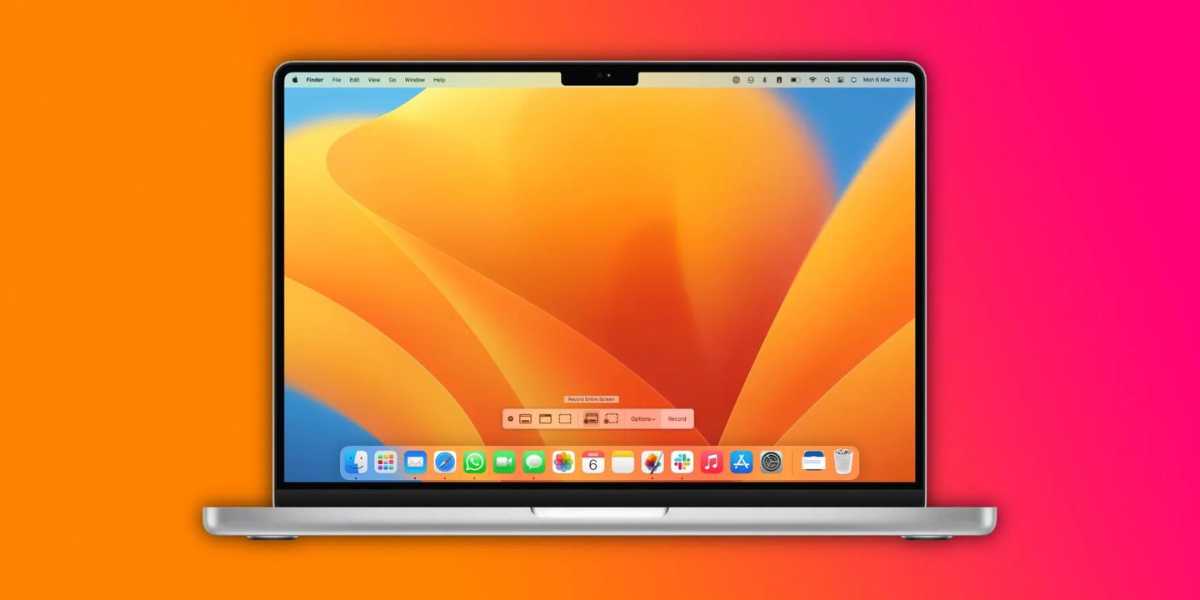
- Customize Recording Settings After selecting “New Screen Recording,” a new window will appear with a red “Record” button. Before you begin recording, you can customize some settings. To do this, click on the drop-down arrow next to the record button.
Here you can select your microphone input if you want to record audio, select where to save your recording, and choose whether to show mouse clicks or not.
- Start Recording Once you have customized your settings, click on the red “Record” button to start recording your screen. A countdown of three seconds will appear before recording starts. You can then start recording whatever you want to capture on your screen.
- Stop Recording To stop recording, simply click on the “Stop” button in the menu bar, or use the shortcut “Command + Control + Esc” to stop the recording. Your recorded video will then be saved to the location you specified earlier.
Tips and Tricks for Screen Recording on Mac
- Use Keyboard Shortcuts If you need to start or stop a recording quickly, you can use keyboard shortcuts. Press “Command + Shift + 5” to open the screen recording tool, then use “Command + Shift + 1” to start recording and “Command + Control + Esc” to stop recording.
- Use External Microphones If you want to record audio along with your screen recording, consider using an external microphone. This can help improve the quality of your audio and make your screen recording more professional.
- Use Third-Party Screen Recording Software While the built-in screen recording feature on Mac is handy, you might find that third-party software offers more advanced features. Some popular options include Camtasia, ScreenFlow, and OBS Studio.
- Use Editing Software Once you have finished recording your screen, you may want to edit the footage. There are several video editing software options available on Mac, including iMovie, Final Cut Pro, and Adobe Premiere Pro.
It’s important to note that screen recording may affect the performance of your Mac, especially if you’re recording high-quality video for an extended period of time. To avoid any potential performance issues, make sure to close any unnecessary applications and clear out any temporary files or caches before starting your recording.
Additionally, if you plan on using your screen recording for professional or commercial purposes, make sure to obtain the necessary permissions and rights to any copyrighted materials that may be included in your recording.
Overall, screen recording on a Mac is a powerful tool that can help you create engaging and informative content. By following the steps outlined above and utilizing some helpful tips and tricks, you can easily start recording your screen on your Mac and take your content creation to the next level.
Conclusion
Screen recording on a Mac is a simple and useful feature that can help you capture video footage of your screen. Whether you’re creating tutorials, recording gameplay, or capturing a video call, screen recording on a Mac is an easy and convenient way to do it. By following the step-by-step guide outlined above and using some helpful tips and tricks, you can start screen recording on your Mac like a pro.