If you’re an iPhone user, you know how important your photos and videos can be. However, you may also find that your phone’s storage is filling up quickly, and you need to transfer your photos and videos to your PC for safekeeping or editing. Fortunately, importing your iPhone photos and videos to your PC is a straightforward process. In this guide, we’ll show you how to import your iPhone photos to your PC using different methods and tools.
Part 1: Using the Photos App on Windows 10
- Windows 10 comes with a built-in Photos app that makes it easy to import photos from your iPhone.
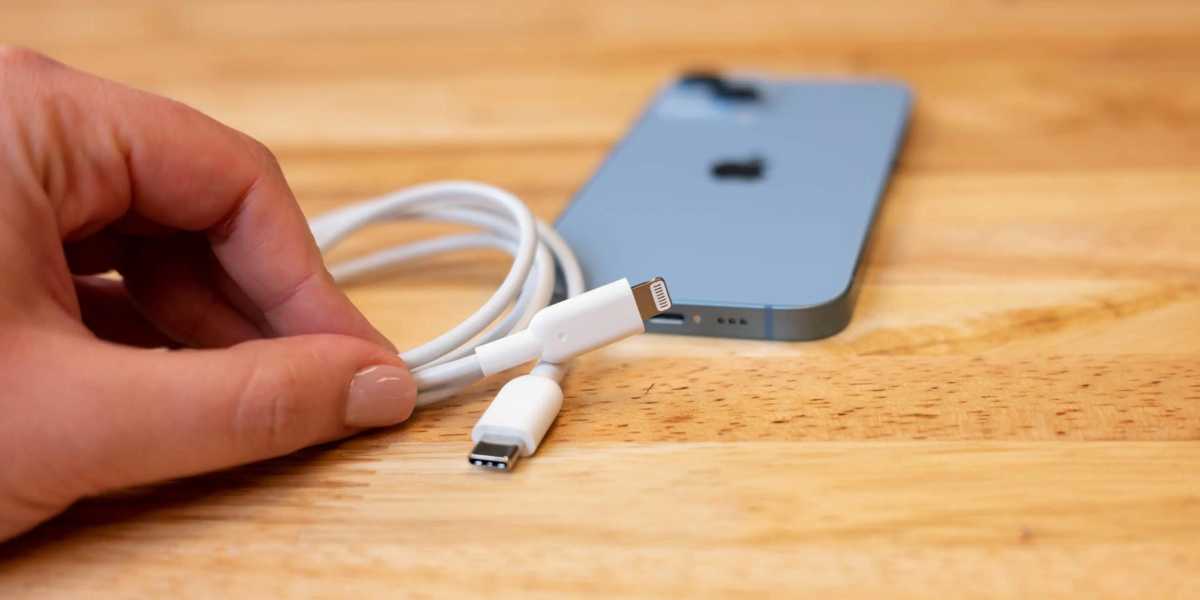
- To import photos using the Photos app, connect your iPhone to your PC using a Lightning cable, open the Photos app, and click on Import > From a USB device.
- You can select the photos you want to import and choose where to save them on your PC.
Part 2: Using iCloud Photos
- iCloud Photos is a cloud-based service that stores your photos and videos in the cloud and syncs them across all your devices.
- To import photos using iCloud Photos, you need to enable iCloud Photos on your iPhone and PC, and then download the photos from iCloud.com.
- To enable iCloud Photos on your iPhone, go to Settings > [your name] > iCloud > Photos and turn on iCloud Photos.
- To enable iCloud Photos on your PC, download and install iCloud for Windows, and then sign in with your Apple ID.
- Once you’ve enabled iCloud Photos on your iPhone and PC, you can download your photos from iCloud.com by logging in with your Apple ID and selecting the photos you want to download.
Part 3: Using File Explorer
- You can also import photos from your iPhone to your PC using File Explorer.
- To import photos using File Explorer, connect your iPhone to your PC using a Lightning cable, open File Explorer, and select your iPhone under This PC.
- You can then open the DCIM folder and select the photos you want to import to your PC.
- You can choose to copy and paste the photos to a folder on your PC or drag and drop them into a folder.
Part 4: Using Third-Party Tools
- There are also many third-party tools available that can help you import your iPhone photos to your PC, such as iTunes, AnyTrans, and iMazing.
- To use these tools, you need to download and install them on your PC and connect your iPhone to your PC.
- You can then select the photos you want to import and choose where to save them on your PC.
Conclusion: Importing your iPhone photos and videos to your PC is a simple process that can help you free up space on your phone and keep your photos safe. By following these different methods and tools, you can easily transfer your iPhone photos to your PC and enjoy them on a bigger screen or edit them for your projects.
How to Download YouTube Videos on PC?
Tips and Considerations:
- Before importing your photos to your PC, you may want to organize and delete any unwanted photos on your iPhone to save storage space.
- Keep in mind that some methods, such as iCloud Photos, require an internet connection and may take longer to transfer large files.
- Be mindful of any copyright restrictions and only import photos and videos that you have permission to use.
- If you’re importing photos to your PC for editing purposes, make sure to choose a photo editor that supports your photo file format, such as JPEG or RAW.
- Remember to safely eject your iPhone from your PC after importing your photos to avoid data loss or corruption.
Alternative Methods:
- If you don’t have access to a Lightning cable or a PC, you can also import your iPhone photos using Wi-Fi or Bluetooth.
- To import photos using Wi-Fi, enable Wi-Fi syncing on your iPhone and iTunes, and connect your iPhone to a Wi-Fi network. Your photos will automatically sync to your PC when both devices are on the same network.
- To import photos using Bluetooth, enable Bluetooth on both your iPhone and PC, pair them together, and then select the photos you want to transfer.
Conclusion: Importing your iPhone photos to your PC can help you save storage space on your phone, keep your photos safe, and edit them on a bigger screen. With these different methods and tools, you can choose the one that works best for you and easily transfer your photos to your PC. Don’t forget to follow the tips and considerations to make the most out of your photo-importing experience.
How to Connect Xbox Controller to PC?
Method 1: Importing iPhone Photos Using a USB Cable
The easiest and most common way to import your iPhone photos to your PC is to use a USB cable. Follow these steps to transfer your photos:
Step 1: Connect Your iPhone to Your PC Connect your iPhone to your PC using a USB cable. Make sure your iPhone is unlocked and that you “Trust” the computer if prompted.
Step 2: Allow Access to Your iPhone Photos If this is the first time you are connecting your iPhone to your PC, you may be prompted to allow access to your iPhone photos. Click “Allow” to continue.
Step 3: Select Photos to Import Open the Photos app on your PC and select your iPhone under “Devices”. You can choose to import all photos or select specific ones by clicking the checkboxes next to the photos you want to import.
Step 4: Choose Where to Save Your Photos After selecting the photos you want to import, choose where you want to save them on your PC. Click “Import” to start the transfer.
Method 2: Importing iPhone Photos Using iCloud Photos
Another way to import your iPhone photos to your PC is by using iCloud Photos. Follow these steps:
Step 1: Enable iCloud Photos on Your iPhone On your iPhone, go to “Settings” > “Photos” and turn on “iCloud Photos”.
Step 2: Install iCloud for Windows on Your PC Download and install iCloud for Windows on your PC from the Apple website. Sign in with your Apple ID and password.
Step 3: Select Photos to Download Open iCloud for Windows and select “Photos”. Check the box next to “Download new photos and videos to my PC” and select “All photos and videos” or “Selected albums” if you only want to download specific photos.
Step 4: Choose Where to Save Your Photos After selecting the photos you want to download, choose where you want to save them on your PC. Click “Download” to start the transfer.
Method 3: Importing iPhone Photos Using the Photos App
If you’re using a Windows 10 PC, you can import your iPhone photos using the Photos app. Here’s how:
Step 1: Connect Your iPhone to Your PC Connect your iPhone to your PC using a USB cable. Make sure your iPhone is unlocked and that you “Trust” the computer if prompted.
Step 2: Open the Photos App Open the Photos app on your PC and select “Import” at the top right corner of the window.
Step 3: Select Photos to Import Choose the photos you want to import by clicking the checkboxes next to them. You can also choose to import all photos by clicking “Select all”.
Step 4: Choose Where to Save Your Photos After selecting the photos you want to import, choose where you want to save them on your PC. Click “Continue” to start the transfer.








Leave a Reply