


Screen recording is a useful feature that allows you to capture whatever is happening on your computer screen. Whether you want to create a tutorial, record a video call, or capture a gaming session, screen recording can come in handy. In this article, we will discuss how to screen record on PC.
Screen Record on PC
1. Choose a screen recording software
The first step is to choose a screen recording software that best suits your needs. There are many options available, both free and paid. Some of the popular ones include OBS Studio, Bandicam, Camtasia, and ScreenFlow. Each software has its own unique features and advantages, so it’s essential to choose one that meets your requirements.
2. Install the screen recording software
Once you have chosen a screen recording software, the next step is to install it on your PC. Most software is straightforward to install, and you can download them from the developer’s website or app store.

3. Launch the screen recording software
After installation, launch the recording software. Depending on the software, you may have to sign up or create an account to use it. Once you’re logged in, you can start using the software.
4. Select the screen area to record
Before starting the screen recording, you need to select the portion of your screen that you want to record. Most recording software allows you to select the entire screen or a specific window. You can also select a custom area by dragging the cursor around the screen.
5. Adjust the recording settings
Next, adjust the recording settings according to your preferences. These settings include video resolution, frame rate, audio source, and file format. You can choose the video resolution based on your screen size and select the frame rate that suits your recording needs. Similarly, you can choose the audio source for your recording, such as system audio or microphone audio, and adjust the volume levels. Additionally, you can select the file format for your recording, such as MP4 or AVI, depending on your needs.
6. Start the screen recording
Once you’ve selected the screen area and adjusted the recording settings, you can start the recording. Most software has a record button that you need to click to begin recording. You can also use hotkeys to start and stop the recording, which can be more convenient.
7. Pause or stop
While recording, you may need to pause or stop the recording. Most software has a pause or stop button that you can use to pause or stop the recording. You can also use hotkeys to pause or stop the recording. It’s essential to pause or stop the recording when necessary to avoid recording unnecessary footage.
8. Edit the screen recording
After recording, you may need to edit the screen recording to remove unwanted footage or add effects. Most recording software comes with built-in editing tools that allow you to trim, crop, or add effects to the recording. You can also use third-party editing software such as Adobe Premiere or Final Cut Pro to edit the recording.
9. Save the screen recording
Once you’ve edited the screen recording, you can save it to your PC. Most software allows you to save the recording to a specific folder on your computer. You can also choose the file format and name the file according to your preferences.
10. Share the screen recording
You can upload the recording to video hosting platforms such as YouTube, Vimeo, or Wistia, or share it directly with your audience via email or social media. When sharing the recording, make sure you have the appropriate permissions and follow copyright laws.
In conclusion, it is a useful feature that allows you to capture whatever is happening on your computer screen. By following the steps outlined above, you can learn how to screen record on your PC and start creating your own content. Choose a recording software, install it on your PC, select the screen area to record, adjust the recording settings, start the recording, pause or stop the recording when necessary, edit the recording, save it to your PC, and share it with others. With these steps, you can create professional-looking recordings and share them with your audience.
Here are some additional tips to help you create high-quality screen recordings:
Create high-quality screen recordings
1. Make sure your computer has enough resources
Screen recording can be resource-intensive, so make sure your computer has enough resources to handle the task. Close any unnecessary programs and applications to free up resources and ensure a smooth recording.
2. Use a good microphone
If you plan to record audio along with your screen recording, it’s essential to use a good microphone. A poor-quality microphone can result in muffled or unclear audio, which can be frustrating for your audience.
3. Plan your recording
Before starting the recording, plan what you want to record and how you want to present it. Create an outline or storyboard to guide your recording and ensure that you cover all the necessary points.
4. Keep it short and concise
Try to keep your recording short and concise. Long recordings can be overwhelming and lose your audience’s attention. Stick to the essential points and keep your recording under 10 minutes, if possible.
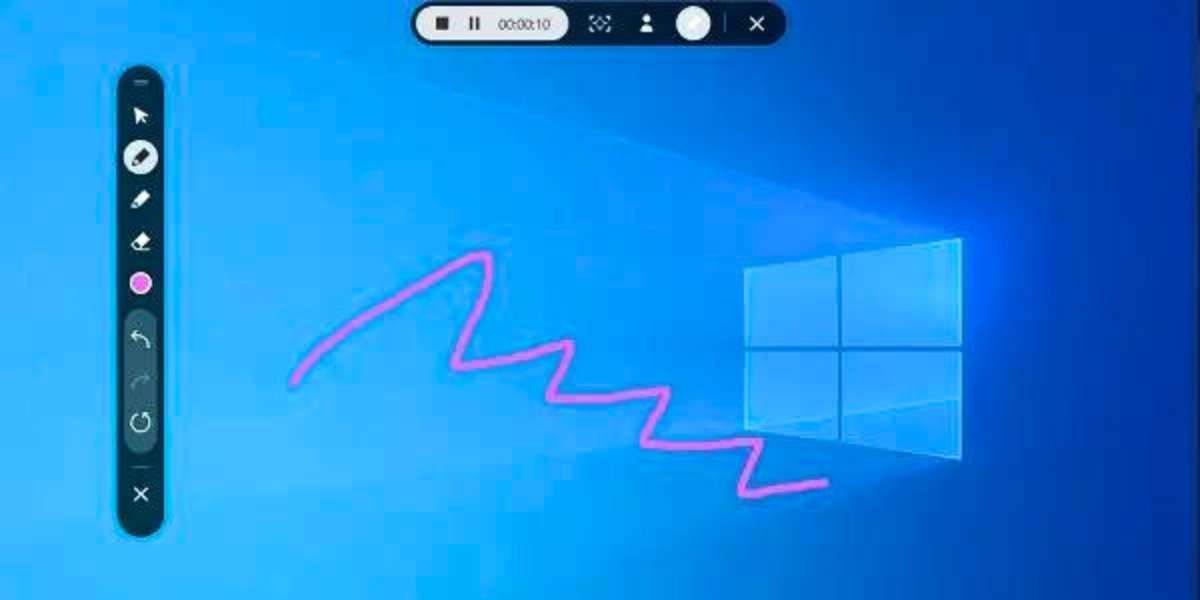
5. Use visual aids
Visual aids such as arrows, highlights, and captions can make your screen recording more engaging and informative. Use them to draw attention to key points and emphasize important information.
By following these tips and steps, you can create professional-looking recordings that engage and inform your audience. Whether you’re creating tutorials, recording video calls, or capturing gaming sessions, recording is a powerful tool that can help you achieve your goals.