Taking screenshots on a PC can be useful in various situations, from capturing important information to saving a funny meme. However, if you are new to computers or have never taken a screenshot before, the process may seem daunting. In this article, we will explain how to take a screenshot on PC step by step, using different methods and software on how to screenshot on windows.
Method 1: Using the PrtScn Key
The PrtScn (Print Screen) key is the easiest and most common way to take a screenshot on PC. Follow the steps below:
Step 1: Find the PrtScn key on your keyboard. It is usually located on the top row, near the function keys.
Step 2: Press the PrtScn key once to capture the entire screen. If you only want to capture a specific window, press the Alt + PrtScn keys together.

Step 3: Open an image editing software, such as Paint or Photoshop, and press Ctrl + V (or right-click and select “Paste”) to paste the screenshot.
Step 4: Save the screenshot as a JPG or PNG file to your desired location.
Method 2: Using the Snipping Tool
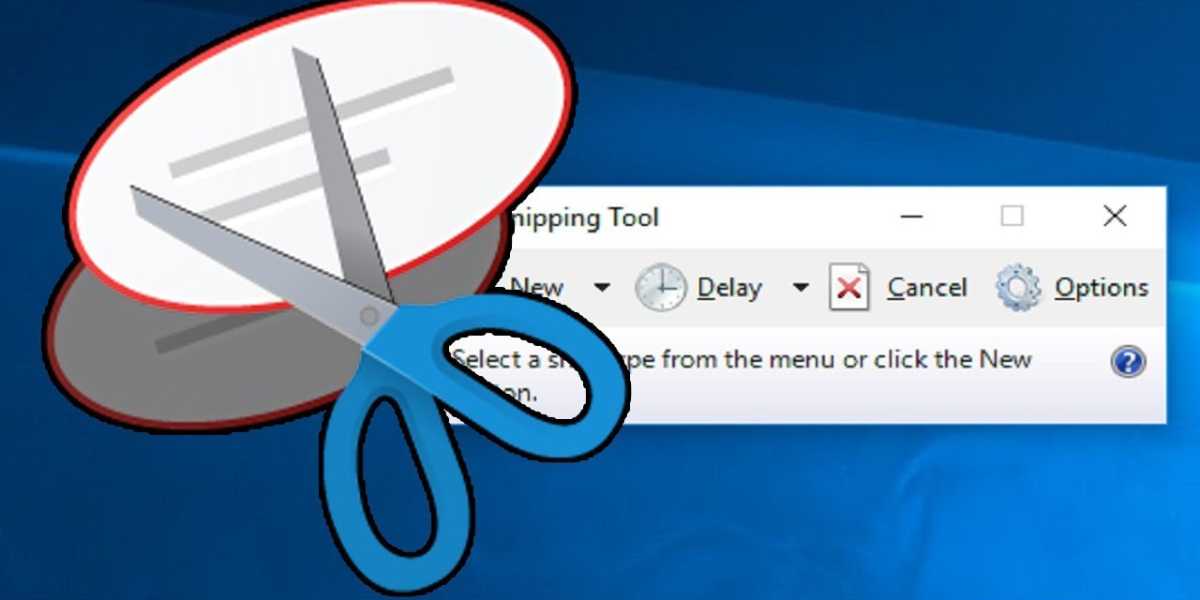
The Snipping Tool is a built-in Windows application that allows you to take screenshots of specific areas of your screen. Here’s how to use it:
Step 1: Type “Snipping Tool” in the Windows search bar and open the application.
Step 2: Click on “New” to start a new snip.
And Step 3: Select the area of the screen that you want to capture by dragging the cursor around it.
Step 4: Once you have captured the desired area, the Snipping Tool will open a new window with your screenshot. You can annotate or highlight the screenshot using the built-in tools.
Step 5: Save the screenshot by clicking on “File” and selecting “Save As.”
Method 3: Using Keyboard Shortcuts
Windows also offers several keyboard shortcuts that you can use to take screenshots quickly. Here are the most common ones:
- Windows Key + PrtScn: This captures the entire screen and saves it to the Screenshots folder in your Pictures library.
- Windows Key + Shift + S: This opens the Snipping Tool with the “Rectangular Snip” option selected. You can then select the area of the screen you want to capture.
- Windows Key + Alt + PrtScn: This captures the active window only.
Method 4: Using Third-Party Software
There are many third-party software options available that offer more advanced screenshot-taking features. Here are a few popular ones:
- Lightshot: A free software that allows you to capture screenshots, edit them, and share them online.
- Greenshot: A free and open-source software that lets you take screenshots of a specific area, window, or fullscreen, and annotate them.
- Snagit: A paid software that offers advanced screenshot-taking features, such as capturing scrolling screens, recording videos, and creating GIFs.
How to screenshot on windows – Tips and Tricks
- If you take screenshots frequently, consider creating a shortcut key for your preferred method.
- To capture a screenshot of a tooltip or menu, use the Windows Snipping Tool or a third-party software.
- If you’re taking a screenshot of a webpage, use the “Full Page” or “Visible Area” option in the Snipping Tool to capture the entire webpage.
- To capture a screenshot in-game, use the game’s built-in screenshot feature or a third-party software that supports game capturing.
How to screenshot on windows – Conclusion
Taking a screenshot on PC is a simple process that can be done using different methods and software. Whether you’re using the PrtScn key, the Snipping Tool, keyboard shortcuts, or third-party software, make sure to save the screenshot in a format that works for you, such as JPG or PNG. Additionally, it’s important to know that there are tips and tricks that can make the screenshot-taking process easier and more efficient.
In conclusion, taking screenshots on PC is a valuable skill that can be used in a variety of situations. By following the steps and tips outlined in this article, you’ll be able to take screenshots quickly and easily, whether you’re a beginner or an experienced user. So, start practicing and enjoy the benefits of capturing your computer screen with ease!
Remember to also be respectful of others’ privacy when taking screenshots. Avoid capturing sensitive or confidential information, and always ask for permission before taking a screenshot of someone else’s content or communication.
How to screenshot on windows – Restrictions
In addition, it’s important to note that some websites or software may have restrictions on taking screenshots. Make sure to read their terms and conditions before taking any screenshots to avoid violating any rules or policies.
Lastly, keep in mind that taking a screenshot is not always the best solution. In some cases, copying and pasting the information or using a screen recording may be more effective. Evaluate the situation and choose the method that best fits your needs.
In conclusion, taking screenshots on PC is a simple and useful skill that can enhance your productivity and communication. By following the steps and tips outlined in this article, you’ll be able to take screenshots efficiently and respectfully.
Additionally, it’s important to organize and store your screenshots properly. Over time, you may accumulate a large number of screenshots, which can make it difficult to find the ones you need. To avoid this, consider creating a folder on your computer dedicated to screenshots, and organize them by date or topic. This will make it easier to find the screenshot you need when you need it.
Finally, don’t forget to share your screenshots with others when appropriate. Screenshots can be a great way to share information, explain a problem, or simply express yourself. Just make sure to respect others’ privacy and copyright, and always give credit where credit is due.
In conclusion, taking screenshots on PC is a useful skill that can improve your productivity and communication. By following the steps and tips outlined in this article, you’ll be able to take screenshots efficiently and effectively, while also respecting others’ privacy and copyright. So go ahead and capture your computer screen with confidence!








Leave a Reply