Screenshots are a useful feature on computers that enable you to capture and save an image of what’s displayed on your screen. Taking screenshots on Mac is easy and there are different methods to do so. In this article, we will explain how to take a screenshot on Mac using different methods.
Method 1: Using Keyboard Shortcuts
The easiest and most common way to take a screenshot on Mac is by using keyboard shortcuts. Here are some keyboard shortcuts that you can use:
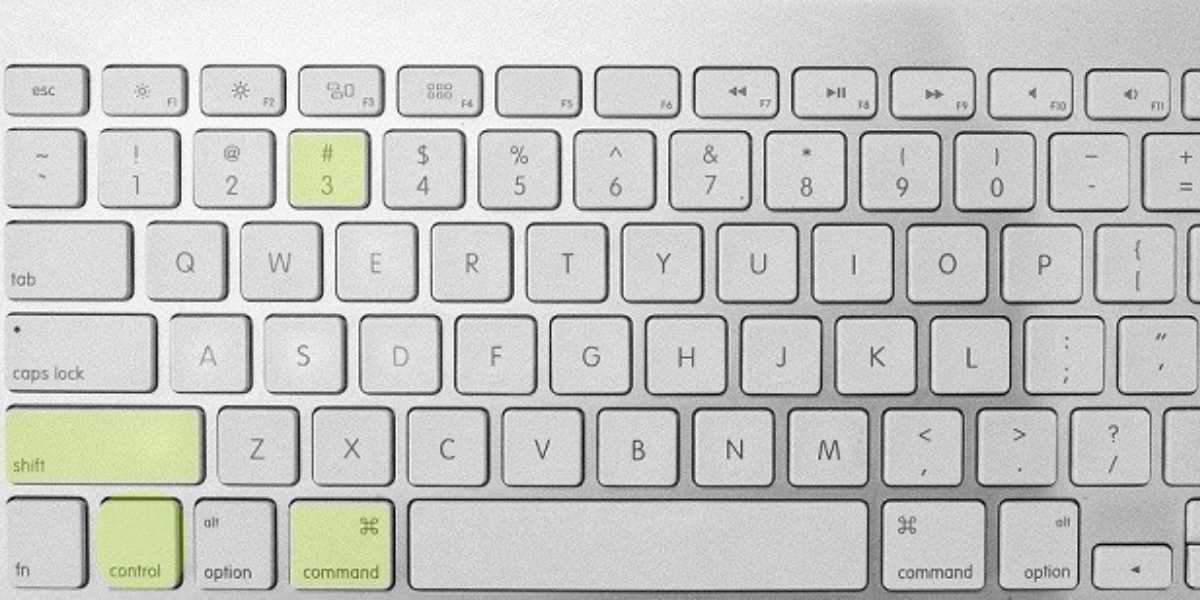
- Capture the entire screen: Press Command + Shift + 3. The screenshot will be saved to your desktop.
- Capture a specific area: Press Command + Shift + 4. The cursor will change to a crosshair. Click and drag the cursor to select the area you want to capture. Release the mouse button to take the screenshot. The screenshot will be saved to your desktop.
- Capture a specific window: Press Command + Shift + 4, then press the spacebar. The cursor will change to a camera. Move the cursor over the window you want to capture and click the mouse button. The screenshot will be saved to your desktop.
Note: The keyboard shortcuts may vary depending on your version of macOS.
Method 2: Using the Screenshot App
macOS also has a built-in Screenshot app that you can use to take screenshots. Here’s how to use the Screenshot app:
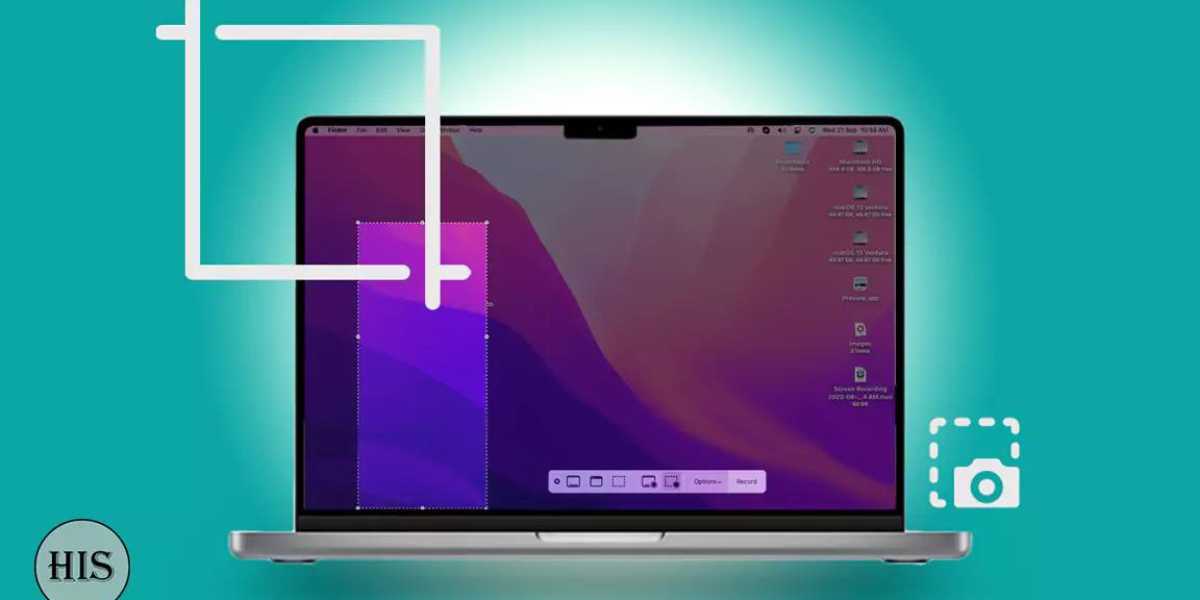
- Open the Screenshot app by pressing Command + Shift + 5.
- Select the type of screenshot you want to take from the options on the bottom of the screen.
- Click “Capture” or press the spacebar to take the screenshot.
- The screenshot will appear in the bottom right corner of your screen. Click on it to open it in the Preview app.
- Save the screenshot by selecting “File” and “Save” or pressing Command + S.
Note: The Screenshot app provides additional features such as the ability to record the screen and set a timer for the screenshot.
Method 3: Using Third-Party Apps
Apart from the built-in tools, there are also various third-party screenshot tools available for Mac that offer additional features such as editing, annotating, and sharing. Here are some popular third-party screenshot tools:
- Snagit: A paid app that enables you to capture screenshots, record videos, and edit and share them.
- Skitch: A free app that enables you to capture screenshots and annotate them with text, arrows, and shapes.
- Lightshot: A free app that enables you to capture screenshots and edit and share them.
Additional Tips and Considerations
Here are some additional tips and considerations to keep in mind when taking screenshots on your Mac:
- If you want to change the default location where screenshots are saved, you can do so by using the Terminal app. Type “defaults write com.apple.screencapture location [path]” in the Terminal app, where “[path]” is the path of the folder where you want to save the screenshots.
- If you want to capture a screenshot of a menu, press Command + Shift + 4, then press the spacebar. The cursor will change to a camera. Click on the menu to capture it.
- If you want to capture a screenshot with a specific resolution, press Command + Shift + 5, then click “Options” and select the desired resolution.
- If you want to capture a screenshot of a webpage, you can use the “Screenshot” feature in the Safari browser. Open the webpage you want to capture, click “File” and “Export as PDF,” then select “PDF” and click “Save.”
Final Thoughts
Taking screenshots on Mac is easy and can be done using different methods. By following these methods, you can quickly and easily capture images of your screen, whether you need to share something with a colleague or save something for your own reference. Remember to explore the different features offered by the built-in Screenshot app and third-party apps to find the tools that work best for your needs.
Additionally, keep in mind that taking screenshots can be a useful tool, but it’s important to be respectful of others’ privacy. Be sure to obtain consent before taking screenshots of other people’s work or personal information, and be mindful of sensitive or confidential information that may be captured in your screenshots.
In conclusion, knowing how to take a screenshot on your Mac is a useful skill that can help you save time, communicate more effectively, and capture important information. With these tips and tricks, you can become a pro at taking screenshots on your Mac in no time.






Leave a Reply